A Step-by-Step Guide on Creating the Perfect Scrunchie
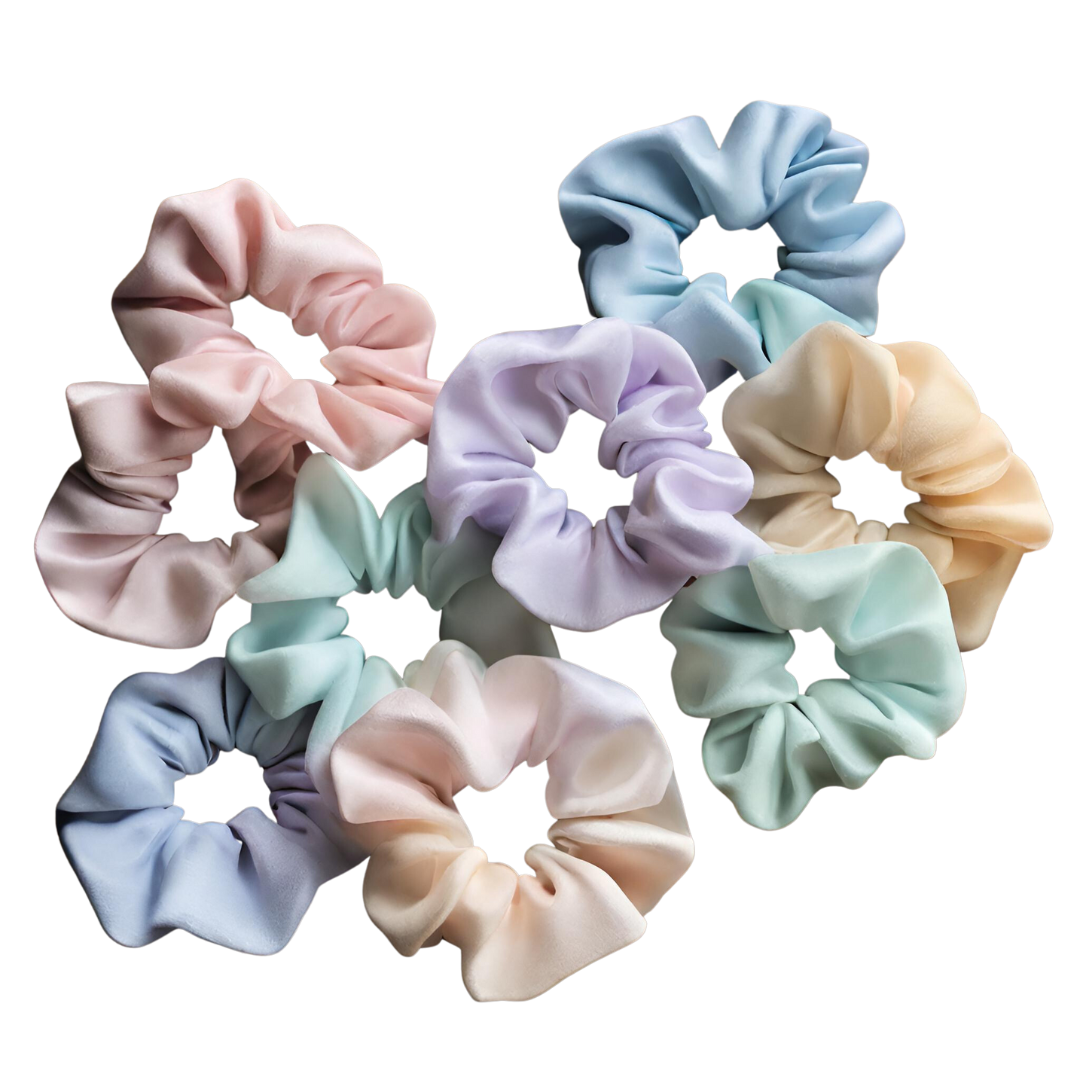
In this step-by-step guide, we will unveil the secrets behind creating the perfect scrunchie—a trendy accessory that has made a major comeback in recent years. With detailed instructions and helpful tips along the way, you will learn how to choose the perfect fabric, cut and sew with precision, and add those finishing touches that take your scrunchie from ordinary to extraordinary. Join us on this journey as we delve into the art of sewing and set you on your path towards becoming a scrunchie-making expert!

Choosing the Right Fabric
When it comes to creating the perfect scrunchie, choosing the right fabric is essential for achieving a polished result. Here are some tips and tricks to help you make an informed decision:
- Consider the weight and texture of the fabric: Light to medium-weight fabrics like cotton or chiffon work well for scrunchies, as they are easy to gather and create volume. Avoid heavy fabrics that may be difficult to work with or make your scrunchie look bulky.
- Opt for stretchy fabrics: Since scrunchies need to stretch around your hair, it's important to choose fabrics that have some elasticity. Jersey knit or spandex blends are great options as they provide both comfort and flexibility.
- Think about durability: Scrunchies can go through lots of wear and tear, so selecting a durable fabric is crucial. Look for materials that can withstand repeated use without losing their shape or color.
Remember, experimentation is key in finding the right fabric for your scruchie-making endeavors! Don't hesitate to try out different fabrics until you find the perfect match for your style preferences and sewing skills.

Essential Tools for Sewing Success
To create the perfect scrunchie, you'll need a few essential tools. These tools will help make your sewing experience easier and more successful:
-
Sewing Machine: A reliable sewing machine is a must-have tool for any sewer. Choose a machine that suits your needs and skill level, with features such as adjustable stitch length and width.

- Fabric Scissors: Invest in a pair of good quality fabric scissors to ensure clean cuts without frayed edges. Keep them separate from other scissors to avoid dulling the blades.
- Pins and Needles: Use pins to hold fabric pieces together before stitching, ensuring straight seams. Needles come in different sizes; choose the appropriate one for your fabric weight.
- Thread: Select thread that matches or complements your fabric color, using polyester or cotton thread for general sewing projects.
- Seam Ripper: Mistakes happen - that's where a seam ripper comes in handy! It helps remove stitches without damaging the fabric.
- Measuring Tape: Accurate measurements are key to creating well-fitting scrunchies, so always have a measuring tape handy.
Remember, having these essential tools on hand will set you up for success when it comes to mastering the art of sewing scrunchies!
Measuring and Cutting the Fabric
Measuring the Fabric
Before you start cutting, ensure that you have measured your fabric accurately. Use a ruler and measuring tape to get precise measurements. Make sure to consider the size of the scrunchie you want to create and add any necessary seam allowances.
Cutting the Fabric
Once you have measured the fabric, it's time to cut it into the desired shape. Using fabric scissors, carefully follow your measurements and cut along straight lines. Be mindful of smoothing out any wrinkles or folds in the fabric before making your cuts.
Tips for Success:
- Double-check your measurements before cutting to avoid any errors.
- Always use sharp fabric scissors for clean cuts.
- Take your time and cut slowly to prevent mistakes or uneven edges.
- If using patterned fabric, ensure that patterns are aligned properly while cutting.
- Remember to save any leftover scraps for future projects!
Creating the Perfect Scrunchie: Step-by-Step Instructions
Gather Your Materials
- To create the perfect scrunchie, you will need the following materials:
- Fabric of your choice
- Elastic (approximately 8-10 inches)
- Thread that matches your fabric
- Sewing machine or needle and thread
- Scissors and pins
Cut the Fabric
- Begin by cutting a piece of fabric that measures 22 inches long and 4 inches wide.
- Fold the fabric lengthwise in half, with the right sides facing each other.
- Pin along the folded edge to secure it in place.
Sewing Time
- Next, sew a straight line along the open long edge of the fabric using either a sewing machine or hand stitching.
- Once you reach one end, reverse stitch to reinforce it.
- Turn your fabric inside out to expose the right side of your chosen material.
- Iron out any wrinkles for a neat finish.
Just by following these simple steps, anyone can master creating their own scrunchies with ease!
Adding Elastic: Techniques and Troubleshooting
Techniques for Adding Elastic
- Begin by measuring and cutting a piece of elastic that is slightly shorter than the circumference of your scrunchie.
- Place one end of the elastic inside the scrunchie tube, making sure it is flush with the edge.
- Hand-sew or machine-stitch the elastic securely in place, backstitching at both ends for added strength.
Troubleshooting Common Issues
- If your scrunchie feels too loose, try using a narrower elastic or adjusting its length.
- Should you find that your scrunchie is too tight, either cut a longer piece of elastic or choose a wider one to provide more stretch.
- To prevent fraying and unraveling, carefully singe the edges of your cut elastic with a flame.
Remember to always test the fit and elasticity before completing each step. With practice, you'll soon become an expert at adding elastic and creating beautiful scrunchies!
Finishing Touches: Adding Embellishments and Trims

Adding Embellishments and Trims
To give your scrunchie a personalized touch, consider adding embellishments and trims. Here are some ideas to get you started:
- Ribbon accents: Attach a small piece of ribbon to the side or top of your scrunchie for a pop of color.
- Lace trim: Sew or glue lace trim around the edges of the scrunchie for a delicate, feminine look.
-
Pearls or beads: Carefully attach individual pearls or beads onto your fabric using thread or fabric glue.

-
Fancy buttons: Transform your scrunchies into chic accessories by adorning them with an array of small, tiny buttons for a delightful touch of whimsy and style. You can use small flower-shaped buttons to add a touch of sparkle to your scrunchies. It's a simple project that will only take you a few minutes. You can coordinate the colors of your scrunchies with the events of the season.
 For example, you can sew small poppy-shaped buttons for Remembrance Day or rhinestone snowflake-shaped buttons for the cold months of winter.
Remember to consider the material you're working with when choosing embellishments and trims. Some materials may require hand-sewing instead of gluing to ensure durability.
Tips for Applying Embellishments
- Plan ahead: Decide where you want to place the embellishment before attaching it.
- Securely attach: Use strong thread and double-stitching techniques when sewing on heavier embellishments like pearls or beads.
- Test it out: Before permanently attaching an embellishment, do a trial run by pinning it in place and wearing the scrunchie around to see how it looks.
By adding these final touches, you can transform your ordinary scrunchie into something unique and stylish that reflects your personal taste!
Tips for Caring and Maintaining Your Handmade Scrunchies
To keep your handmade scrunchies in pristine condition, follow these simple tips:
- Hand wash or delicate cycle: Since handmade scrunchies are often made from delicate fabrics like silk or lace, it's best to hand wash them or use the delicate cycle on your washing machine. Avoid using harsh detergents that can damage the fabric.
- Air dry only: To prevent shrinkage and maintain the shape of your scrunchies, always air dry them instead of using a dryer. Hang them up or lay them flat to dry naturally.
- Avoid excessive stretching: While scrunchies are designed to stretch around hair, avoid excessive stretching that could weaken the elastic band over time. Make sure to gently insert and remove your scrunchie without tugging on it too forcefully.
- Store properly when not in use: To prolong the lifespan of your handmade scrunchie, store it carefully when you're not wearing it. Keep them in a drawer or hang them on a hook where they won't get tangled with other accessories.
By following these care instructions, you'll be able to enjoy your handmade scrunchies for years to come!


