Tips on Sewing Ribbon onto Fabric
Sewing ribbon onto fabric can be a fantastic way to add embellishments and decorative touches to your garments or craft projects. Whether you are an experienced sewer or just starting out, mastering the art of sewing ribbon can elevate your creations to a whole new level. In this article, we will provide you with valuable tips and techniques that will help you achieve flawless results every time. From choosing the right ribbon for your project to stitching it securely onto the fabric, our comprehensive guide has got you covered. So, grab your needles and thread as we dive into the world of sewing ribbon onto fabric!
Understanding Different Types of Ribbon

When it comes to sewing ribbon onto fabric, it's important to understand the different types of ribbon available. Here are some key points to keep in mind:
- Grosgrain Ribbon: Known for its ribbed appearance, grosgrain ribbon is a durable option that works well for adding texture and structure to your projects.
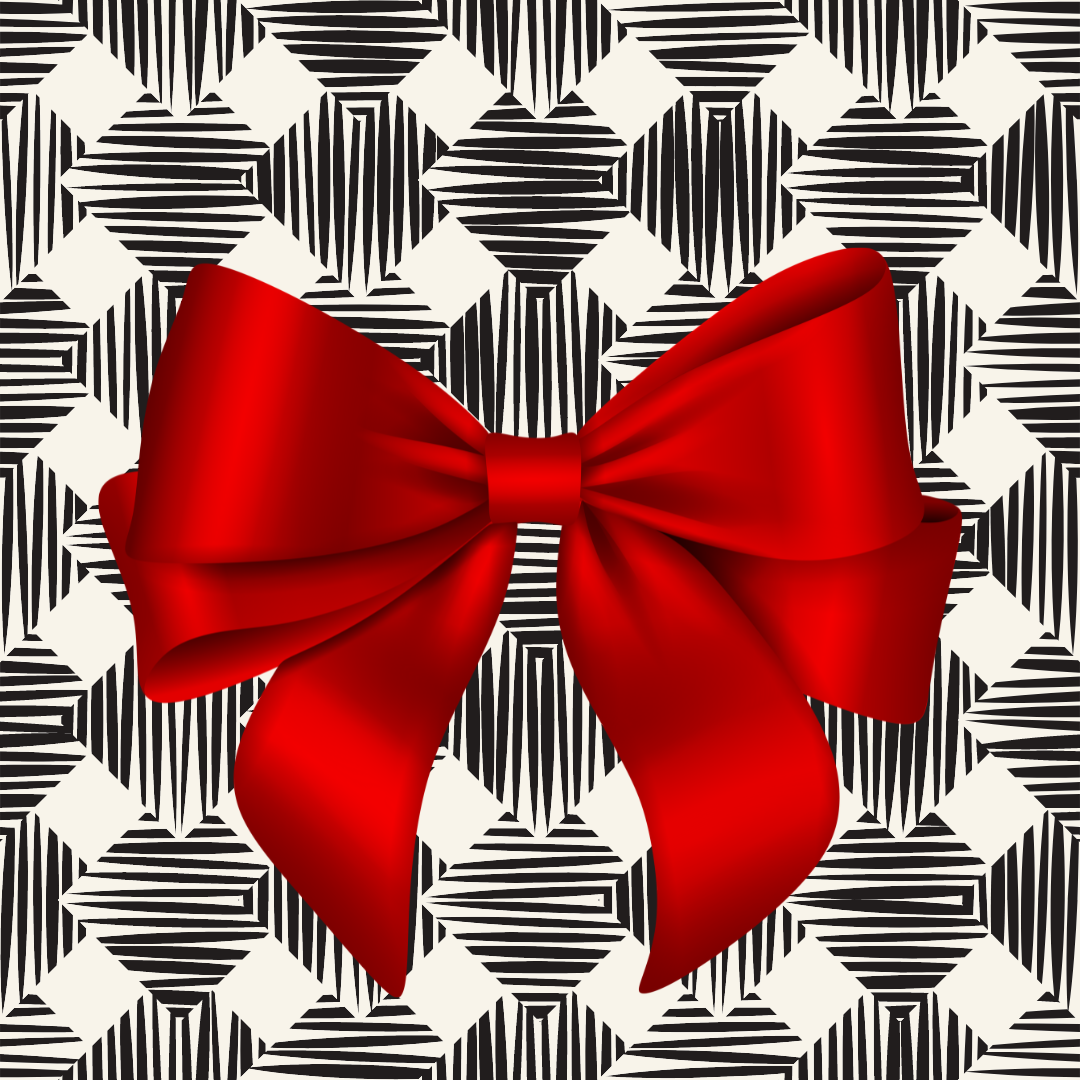
- Satin Ribbon: Satin ribbon is smooth and shiny, making it perfect for creating elegant embellishments or adding a touch of luxury to your sewing creations.
- Organza Ribbon: If you're looking for a lightweight and sheer option, organza ribbon is ideal. It's great for delicate accents or creating ethereal designs.
- Ric Rac Ribbon: With its distinctive zigzag pattern, ric rac ribbon adds whimsy and charm to any project. It can be stitched directly onto fabric or used as an edging.
Understanding the characteristics of each type of ribbon will help you choose the right one for your sewing endeavors. Whether you want to add texture, elegance, delicacy, or playfulness to your fabric creations, there's a perfect ribbon out there waiting for you.
Selecting the Right Ribbon for Your Project
Choosing the Perfect Ribbon
Selecting the right ribbon for your sewing project is essential to achieving a professional and polished look. Consider these factors when choosing your ribbon:
- Material: The material of the ribbon will greatly impact its appearance and durability. Satin or silk ribbons create an elegant and delicate look, while grosgrain or cotton ribbons offer a more structured and casual feel.
- Width: The width of the ribbon should complement the size of your fabric project. Narrow ribbons work well for intricate designs or smaller pieces, while wider ribbons make a bold statement on larger items like quilts or pillows.
- Color: Choose a color that complements your fabric rather than overpowering it. Neutral shades are versatile choices, but don't be afraid to experiment with contrasting colors for added visual interest.
- Pattern: Consider whether you want a solid-colored or patterned ribbon to enhance your design scheme.
- Texture: Some ribbons have unique textures, such as pleats, ruffles, or lace edges, which can add dimension and visual appeal to your project.
Preparing Your Fabric for Ribbon Sewing
Before you begin sewing ribbon onto fabric, it is important to prepare your fabric properly. Follow these steps to ensure a smooth and successful ribbon sewing project:

-
Wash and iron the fabric
- Start by washing your fabric according to its care instructions.
- Iron the fabric afterward to remove any wrinkles or creases that may interfere with the sewing process.
-
Choose the right thread and needle
- Select a thread color that matches or complements your ribbon.
- Use a needle appropriate for your chosen fabric type and weight.
-
Secure the edges of the fabric
- Trim and finish all raw edges of your fabric before attaching the ribbon.
- This will prevent fraying during handling and laundering.
By taking these simple but crucial steps, you'll be well-prepared to sew ribbons onto your desired fabrics with ease and achieve professional-looking results.
Choosing the Appropriate Needle and Thread
Needle selection:
- Use a lightweight, fine needle when sewing ribbons onto delicate fabrics like silk or chiffon.
- Opt for a larger, heavier needle when working with thicker fabrics such as denim or canvas.
Thread selection:
- For visible stitching on decorative ribbon, choose a thread that matches the color of the ribbon.
- When sewing ribbons onto garments where durability is important, select a strong polyester thread in a matching color.
Remember to always test your needle and thread choices on scrap fabric before beginning your project to ensure they are suitable.
Essential Techniques for Sewing Ribbon onto Fabric
Stitching the ribbon securely
- Start by positioning the ribbon onto your fabric in the desired pattern or design.
- Use straight pins to temporarily secure the ribbon in place before stitching.
- Select a matching thread color and set your sewing machine to a medium-length stitch.
- Begin stitching along one edge of the ribbon, using a straight stitch or zigzag stitch depending on the width of the ribbon.
- When reaching corners or curves, stop with your needle down and pivot smoothly.
Reinforcing edges for durability
- To prevent fraying and increase longevity, reinforce the edges of your ribbon.
- Fold over approximately 1/4 inch (0. 6 cm) hem on each end of your cut ribbon strip before attaching it to fabric.
- Securely sew along all folded edges, either by machine or hand-stitching with small whip stitches.
Adding decorative touch through hand-sewing
- If you prefer a more personalized touch when attaching ribbons,
- Consider incorporating hand-sewing techniques like embroidery stitches or appliqué to add extra embellishments to your piece.

Adding Ribbon Borders and Trims
When sewing ribbon onto fabric to create borders and trims, there are a few important considerations to keep in mind:
- Choose the right ribbon: Select a ribbon that complements your fabric in terms of color, width, and texture. Satin or grosgrain ribbons are often used for decorative purposes.
- Prepare the fabric: Before attaching the ribbon, make sure your fabric is properly prepared by washing and pressing it. This will ensure a clean finish and prevent wrinkling.
- Measure accurately: Take precise measurements of where you want the ribbon border or trim to go. Use pins or tailor's chalk to mark these positions on your fabric.
- Sew with care: When attaching the ribbon, use small stitches along the edges so they blend seamlessly into the fabric. Consider using matching thread color for an invisible finish.
By following these simple guidelines, you can confidently add beautiful ribbon borders and trims to enhance your sewing projects. Whether it's adding a pop of color or creating delicate accents, ribbons can elevate any garment or home decor item.
Creating Intricate Ribbon Designs
- Start by choosing a ribbon with an intricate design. Opt for ribbons that have patterns or motifs that you want to showcase on your fabric.
- Carefully plan out the placement of the ribbon on your fabric before sewing it. Use pins or chalk to mark the desired position and ensure straight lines or symmetrical designs.
- Experiment with different stitches to secure the ribbon onto the fabric. For narrow ribbons, a simple running stitch close to the edges will work well. Thicker or wider ribbons may require a whipstitch or decorative embroidery stitches for added durability and visual interest.
- Consider layering multiple ribbons of varying widths for a more complex design. Play around with different combinations and arrangements until you achieve the desired effect.
- Remember to sew each layer individually before moving on to avoid any tangling issues.
- Take your time when sewing intricately designed ribbons onto fabric, as precision is key in achieving professional-looking results.
By following these steps, you can create stunning and detailed ribbon designs on your fabrics without difficulty.
Finishing Touches and Care Instructions
To give your ribbon-sewn fabric a polished look, there are a few finishing touches you can add. First, trim any loose threads or excess ribbon carefully with sharp scissors. This will create clean edges and prevent fraying.
If desired, you can also enhance the appearance of your ribbon by adding decorative stitches along its edges or in between each row. Experiment with different stitch patterns to find the one that complements your fabric best.
To ensure that your ribbon stays securely attached to the fabric for years to come, follow these care instructions:
- Hand wash: To avoid damaging the delicate ribbon, it is recommended to hand wash items rather than using a washing machine.
- Gentle detergent: Use a mild detergent designed for gentle fabrics to clean both the fabric and the attached ribbons.
- Air dry: Hang or lay flat garments or accessories out of direct sunlight until completely dry.
- Iron cautiously: If necessary, use a low heat setting on an iron with no steam while placing a press cloth over any exposed ribbon areas.
By following these finishing touches and care instructions, you'll be able to showcase your beautifully sewn ribbons on various projects without worrying about damage or loss of their charm over time!