How To Sew on a one Hole Button
Have you ever struggled with sewing on a one hole button? Don't worry, we've all been there at some point! In this article, we will guide you through the process of sewing on a one hole button with ease and confidence. Whether you're a beginner or just looking for some extra tips, we're here to help make your sewing experience more enjoyable and rewarding. So grab your needle and thread, and let's get started on mastering the art of attaching a one hole button in no time!
What is a single-hole button?
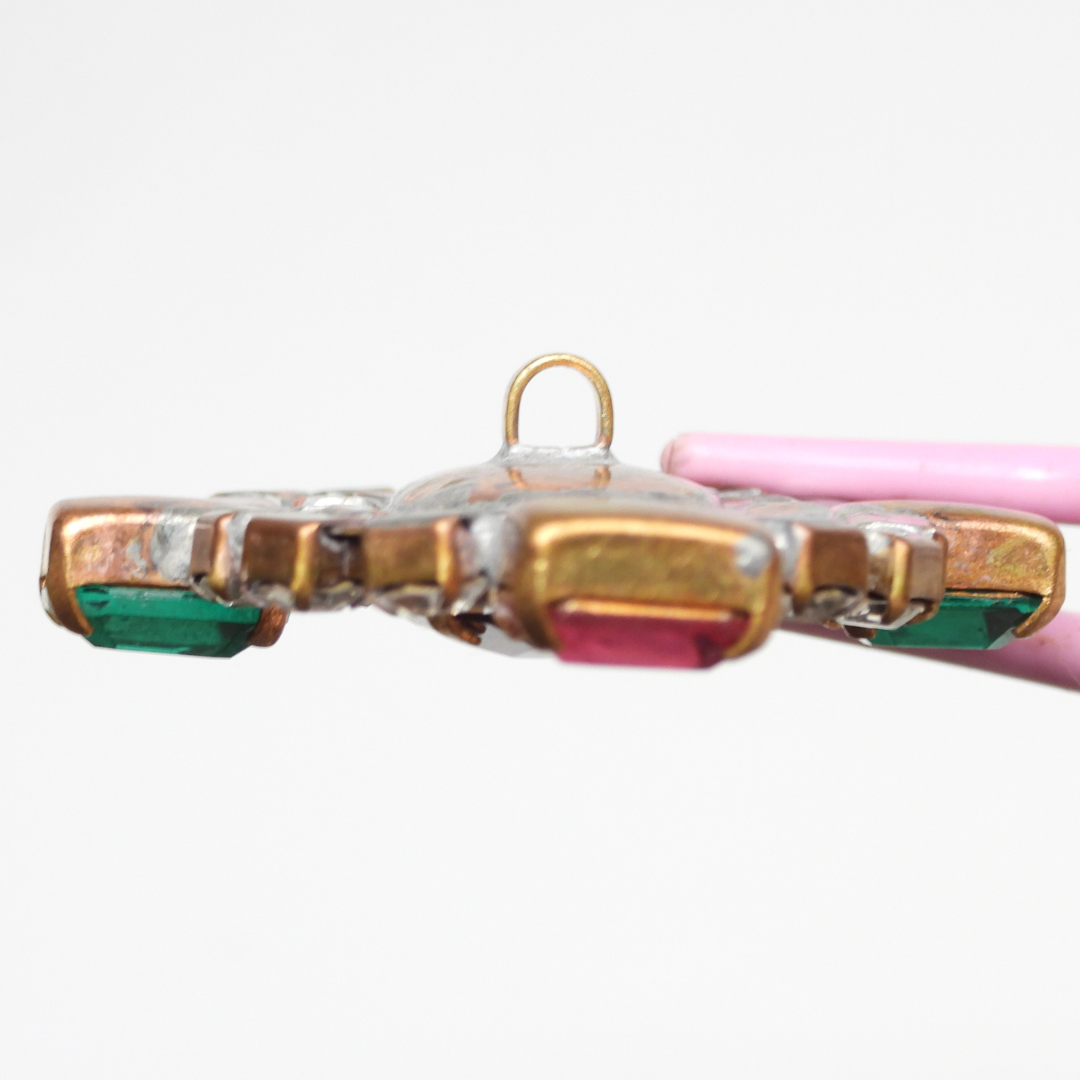
A single-hole button, often referred to as a shank button, is a type of button that features one central hole, typically located on the back or underside of the button. This design differentiates it from other buttons that have multiple holes (usually two or four) on the face of the button for sewing.
Characteristics of Single-Hole Buttons
-
Shank Design:
- The hole is positioned on a protruding shank at the back of the button, creating a small gap between the button and the fabric when sewn. This allows for easier buttoning and unbuttoning, particularly with thicker fabrics.
-
Usage:
- Shank buttons are often used on coats, jackets, and other heavy garments due to their robust attachment and decorative appearance.
- They are also common in high-end clothing and on items where the button needs to stand out as a decorative element.
-
Material and Shape:
- Single-hole buttons can be made from various materials, including plastic, metal, wood, or glass.
- They come in various shapes and sizes, often more decorative and ornate than standard flat buttons.
Advantages of Single-Hole Buttons
- Durability: The single attachment point combined with the shank design often makes these buttons more durable and less likely to come loose.
- Ease of Use: The shank provides space for thicker fabrics, making it easier to button and unbutton.
- Aesthetic Appeal: Often used for decorative purposes, these buttons can add a stylish touch to garments.
Gathering Your Materials
- Needle: Select a sharp needle that is small enough to fit through the holes of the button.
- Thread: Choose a strong thread in a color that matches your fabric for a seamless finish.
- Button: Pick out a one hole button that complements your project and fits the desired look.
- Scissors: Have sharp scissors on hand to cut the thread cleanly after sewing.
Before beginning, make sure you have all the necessary materials gathered together. Double-check that you have everything you need before starting to avoid any interruptions during the sewing process. Remember, having all your materials organized and within reach will help make sewing on a one hole button quick and easy.
Positioning the Button
When placing your button on the fabric, make sure it is centered and aligned with any markings or guidelines you have made. This will ensure that the button sits correctly once sewn on.
- Use a fabric marker or chalk to mark where the button should be placed.
- Take into consideration how much space is needed for the buttonhole when positioning the button.
- Double-check alignment before stitching in place to avoid any mistakes.
By taking care in positioning your button accurately, you can achieve a professional-looking finish to your garment. Remember, precision is key when it comes to sewing on buttons!
Sewing the Button in Place
- Secure the Thread: Once you have positioned your button on the fabric, push your needle up through one of the holes from underneath. Leave a small tail at the back to hold onto.
- Create Stitches: Bring your needle back down through another hole and pull it tight. Repeat this step several times, making sure that each stitch is snug against the button.
- Finish Strong: To secure everything in place, bring your needle to the back of the fabric and tie a knot with the tail of thread left at the beginning.
By following these simple steps, you can easily sew on a one-hole button without any difficulties! Remember to take your time and ensure that each stitch is tight for a secure finish.
Finishing Touches
Adding Extra Security
For extra security when sewing on a one-hole button, consider adding a small dab of clear nail polish or fabric glue to the back of the button. This will help keep the threads in place and prevent the button from coming loose over time.
After securing the button in place, trim any excess thread and knot it tightly on the backside of the fabric. This will ensure that your button stays put through multiple wears and washes. Finally, give your garment a quick press with an iron to set everything in place and achieve a polished look.
Remember, practice makes perfect! Don't be discouraged if your first few attempts aren't flawless. With patience and persistence, you'll soon be sewing on one-hole buttons like a pro.
FAQs
Can I use any type of button for this tutorial?
Yes, you can use any one hole button for this tutorial. It doesn't matter if it's plastic or metal, as long as it has only one hole to sew through.
Do I need any special tools to sew on a one hole button?
No, you don't need any special tools to sew on a one hole button. All you need is a needle and thread that matches the color of your fabric.
How secure will my button be after following this tutorial?
If you follow the steps outlined in the tutorial carefully, your button should be securely attached to your garment. Just make sure to knot the thread tightly at the back of the fabric for extra security.


